The Precursor
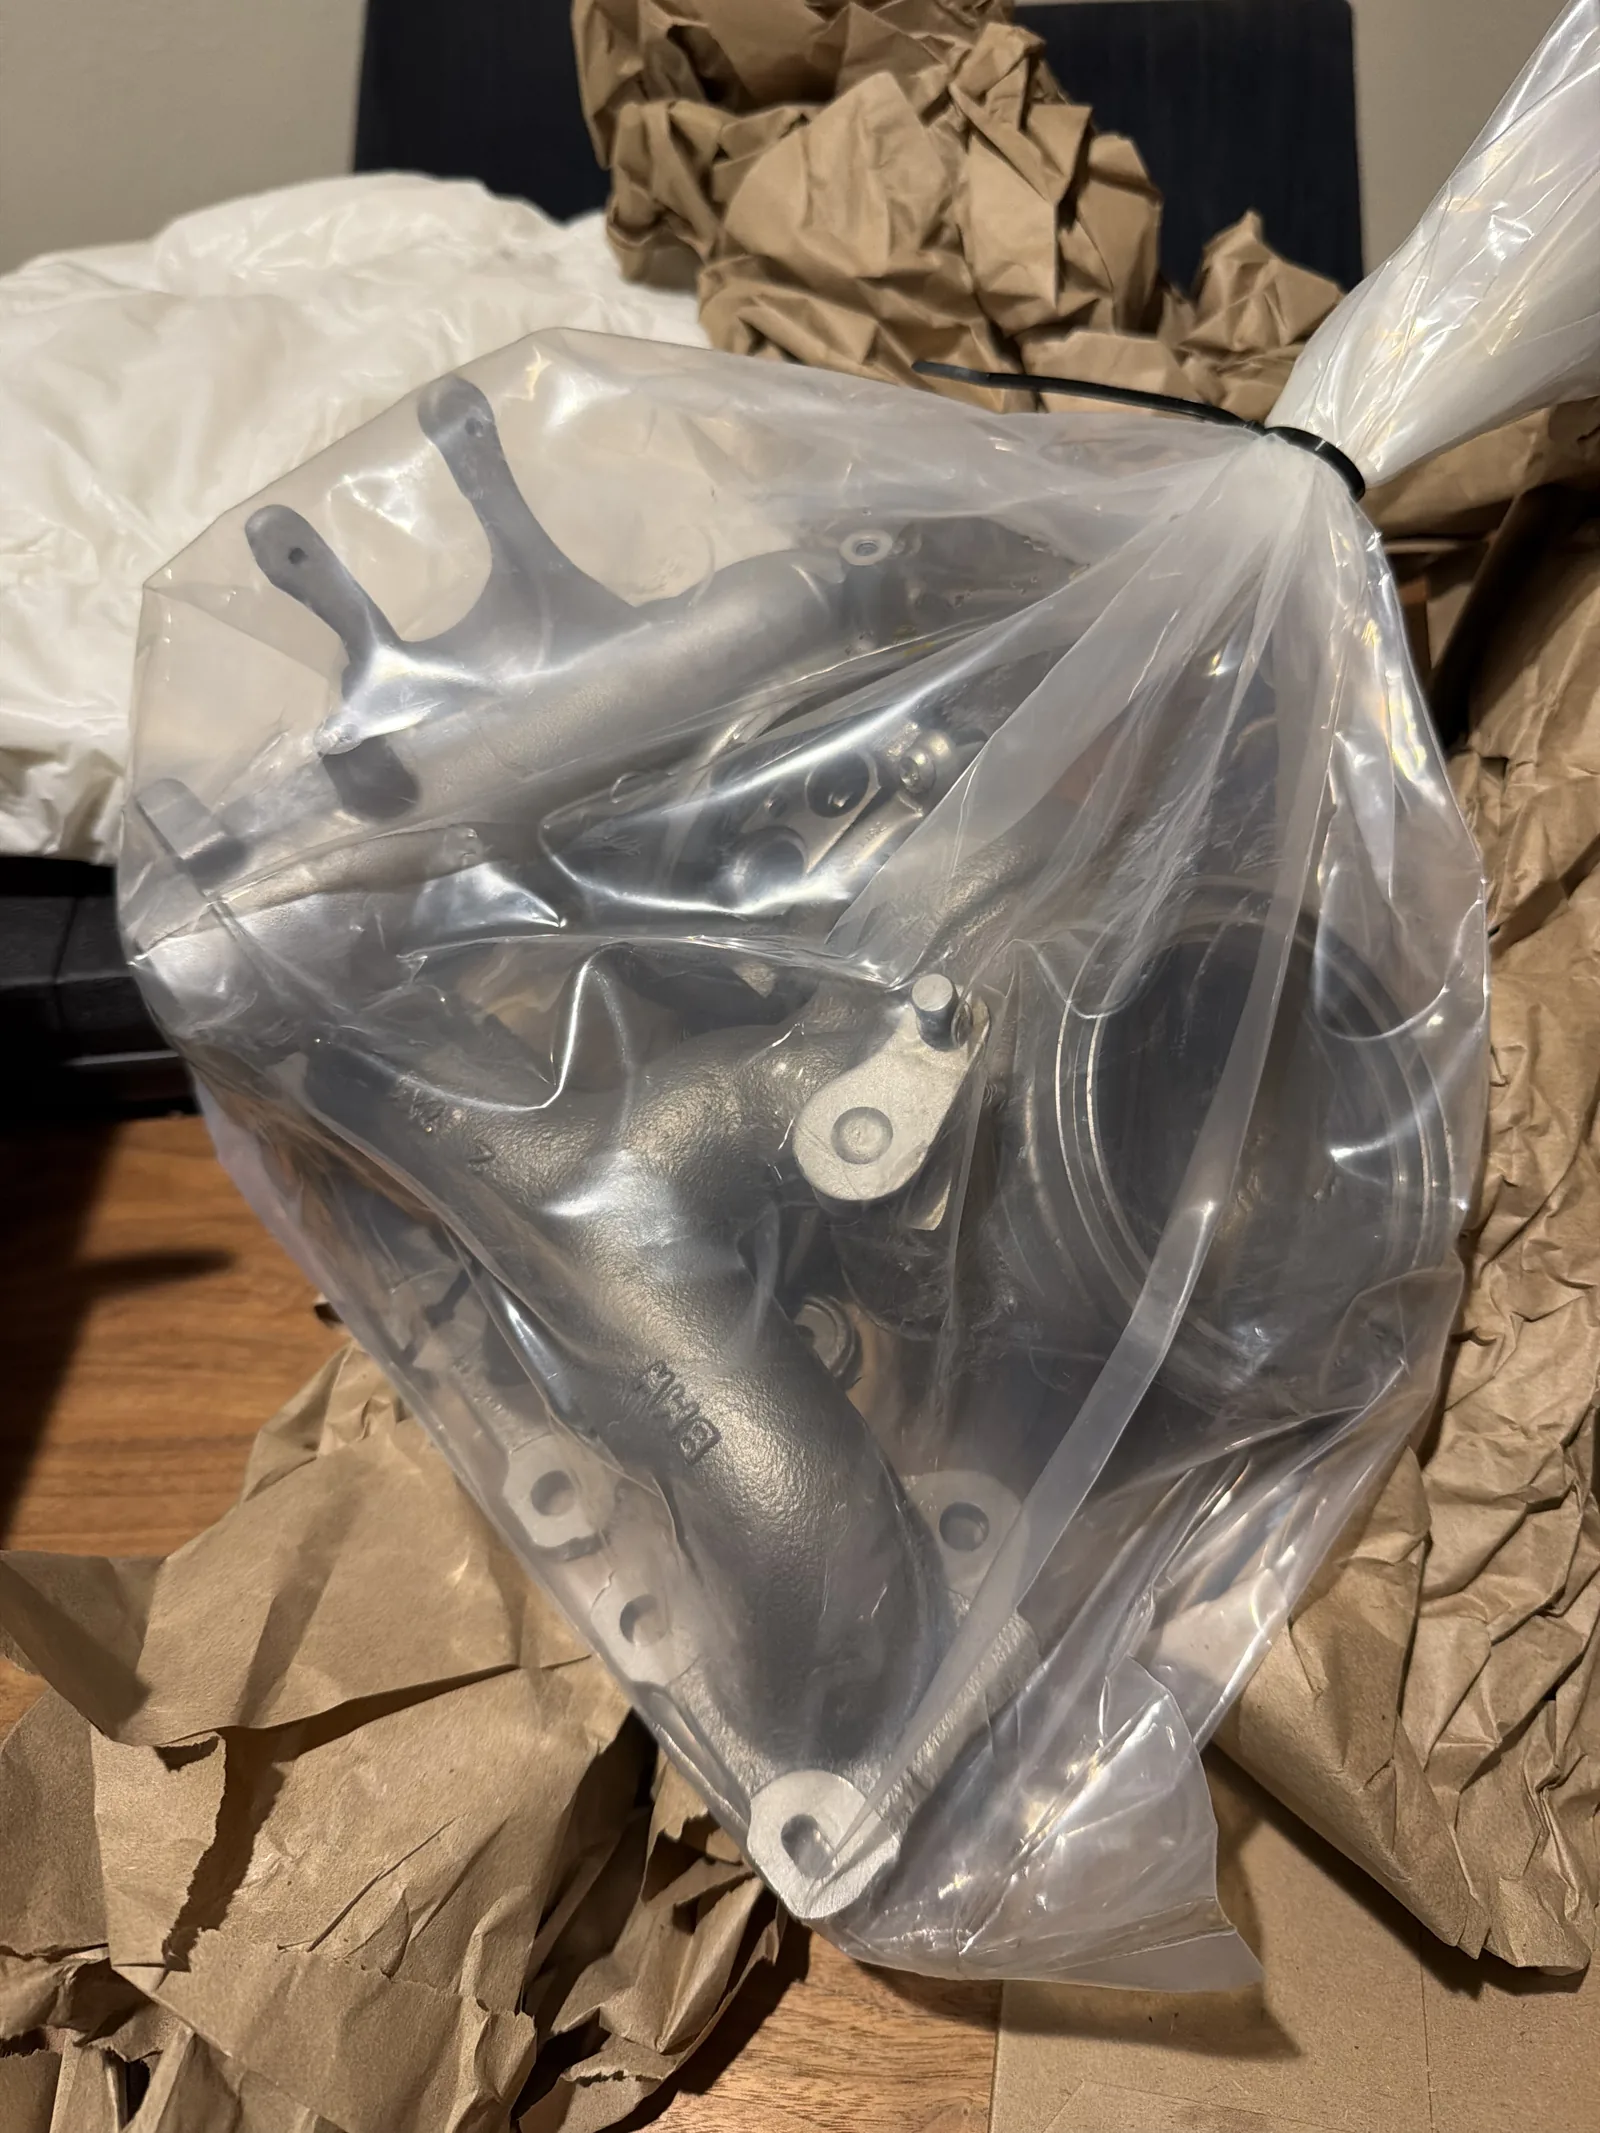
After a track day at Sonoma, I observed that the boost and general responsiveness of my turbochargers was starting to become inconsistent. The racecar has had a hard life with over 110k miles since 2018 on it and these turbos were not only stock but also untouched since they came out of the factory. I ended up going with a Pure Turbo Stage 2+ kit where they retain the OEM housing but with upgraded or replaced internals. This is one of those services where in exchange for sending you a kit immediately, you put down a deposit which gets refunded when you send them the your (ideally working) turbos. So the parts list looked like:
| Product | Description | Price | Source |
|---|---|---|---|
| Installation hardware kit | Genuine BMW gaskets, seals and fasteners for a turbo swap, plus the oil supply and return hoses | $1,089.99 | BimmerWorld |
| Pure Turbo Stage 2+ | Upgraded internals in the OEM housings, with a $1,500 core deposit refunded when the old pair goes back | $3,994.99 | BimmerWorld |
| Turbo cooling overhaul kit | OEM water pipes, o-rings and the auxiliary water pump for the turbo cooling circuit | $483.99 | BimmerWorld |
| Exhaust manifold stud | Genuine BMW M7×39 Torx stud (11127593376) that holds the manifold to the head | $2.19 each | BimmerWorld |
Since one has to remove all of the oil/coolant lines from the turbos as part of the process and are rarely touched anyway, one may as well swap then for new lines to nip any leaks before having to disassemble everything again later.
Original Job
Roughly speaking, to swap out the turbos on an F87 M2C one needs to go through the following flow:
- Car preferably up on a lift. I found that there are several times where, due to the tight engine bay, one needs to approach things from above and below.
- Remove enough of the exhaust to get access to the downpipes from the existing turbos. For stock this means the entire exhaust has to go because its one piece. Since I moved to supersprint it is more modular.
- Remove the engine mount that you will have noticed is in your way. This was me being a bit of a novice but as I tried to remove it the engine was moving more than I liked. So I used an engine support brace across the top of the engine bay. While it was initially to allay my fear, I found it useful because it allowed me to tilt the engine slightly in the other direction which allowed more working space later.
- From here I was able to remove the downpipes. This was also a little easier for me since in swapping to supersprint my catalytic converters had become so slim that one might wrongly think they aren’t there at all.
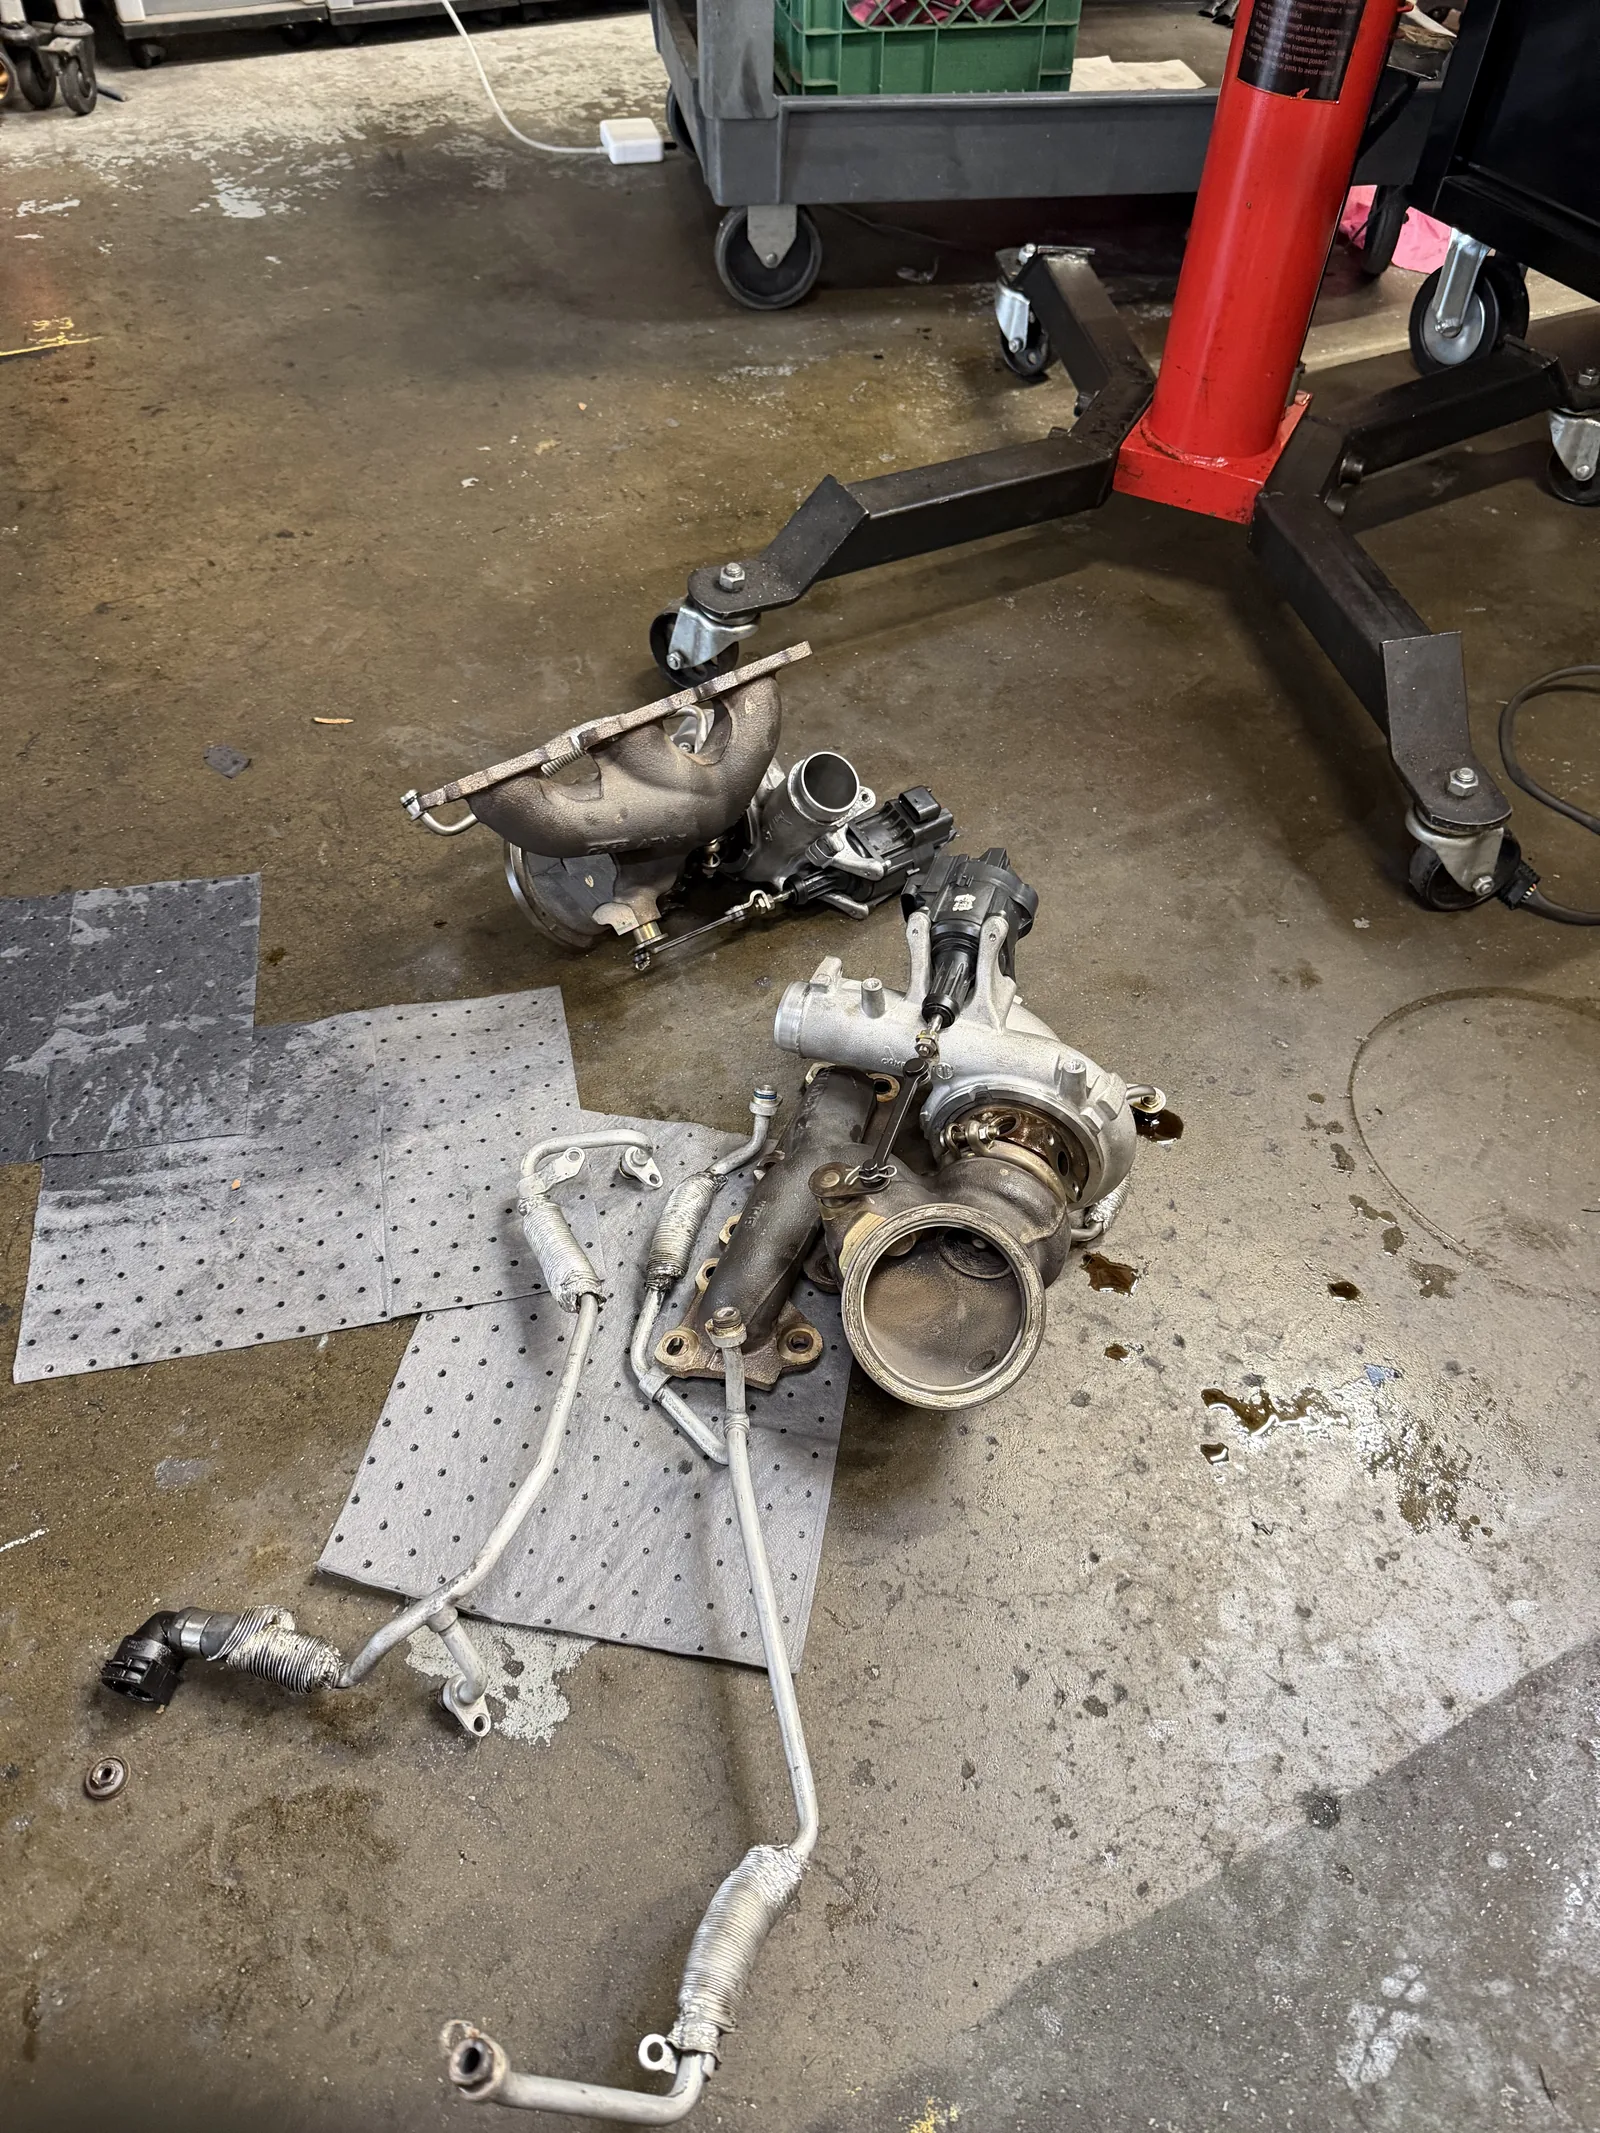
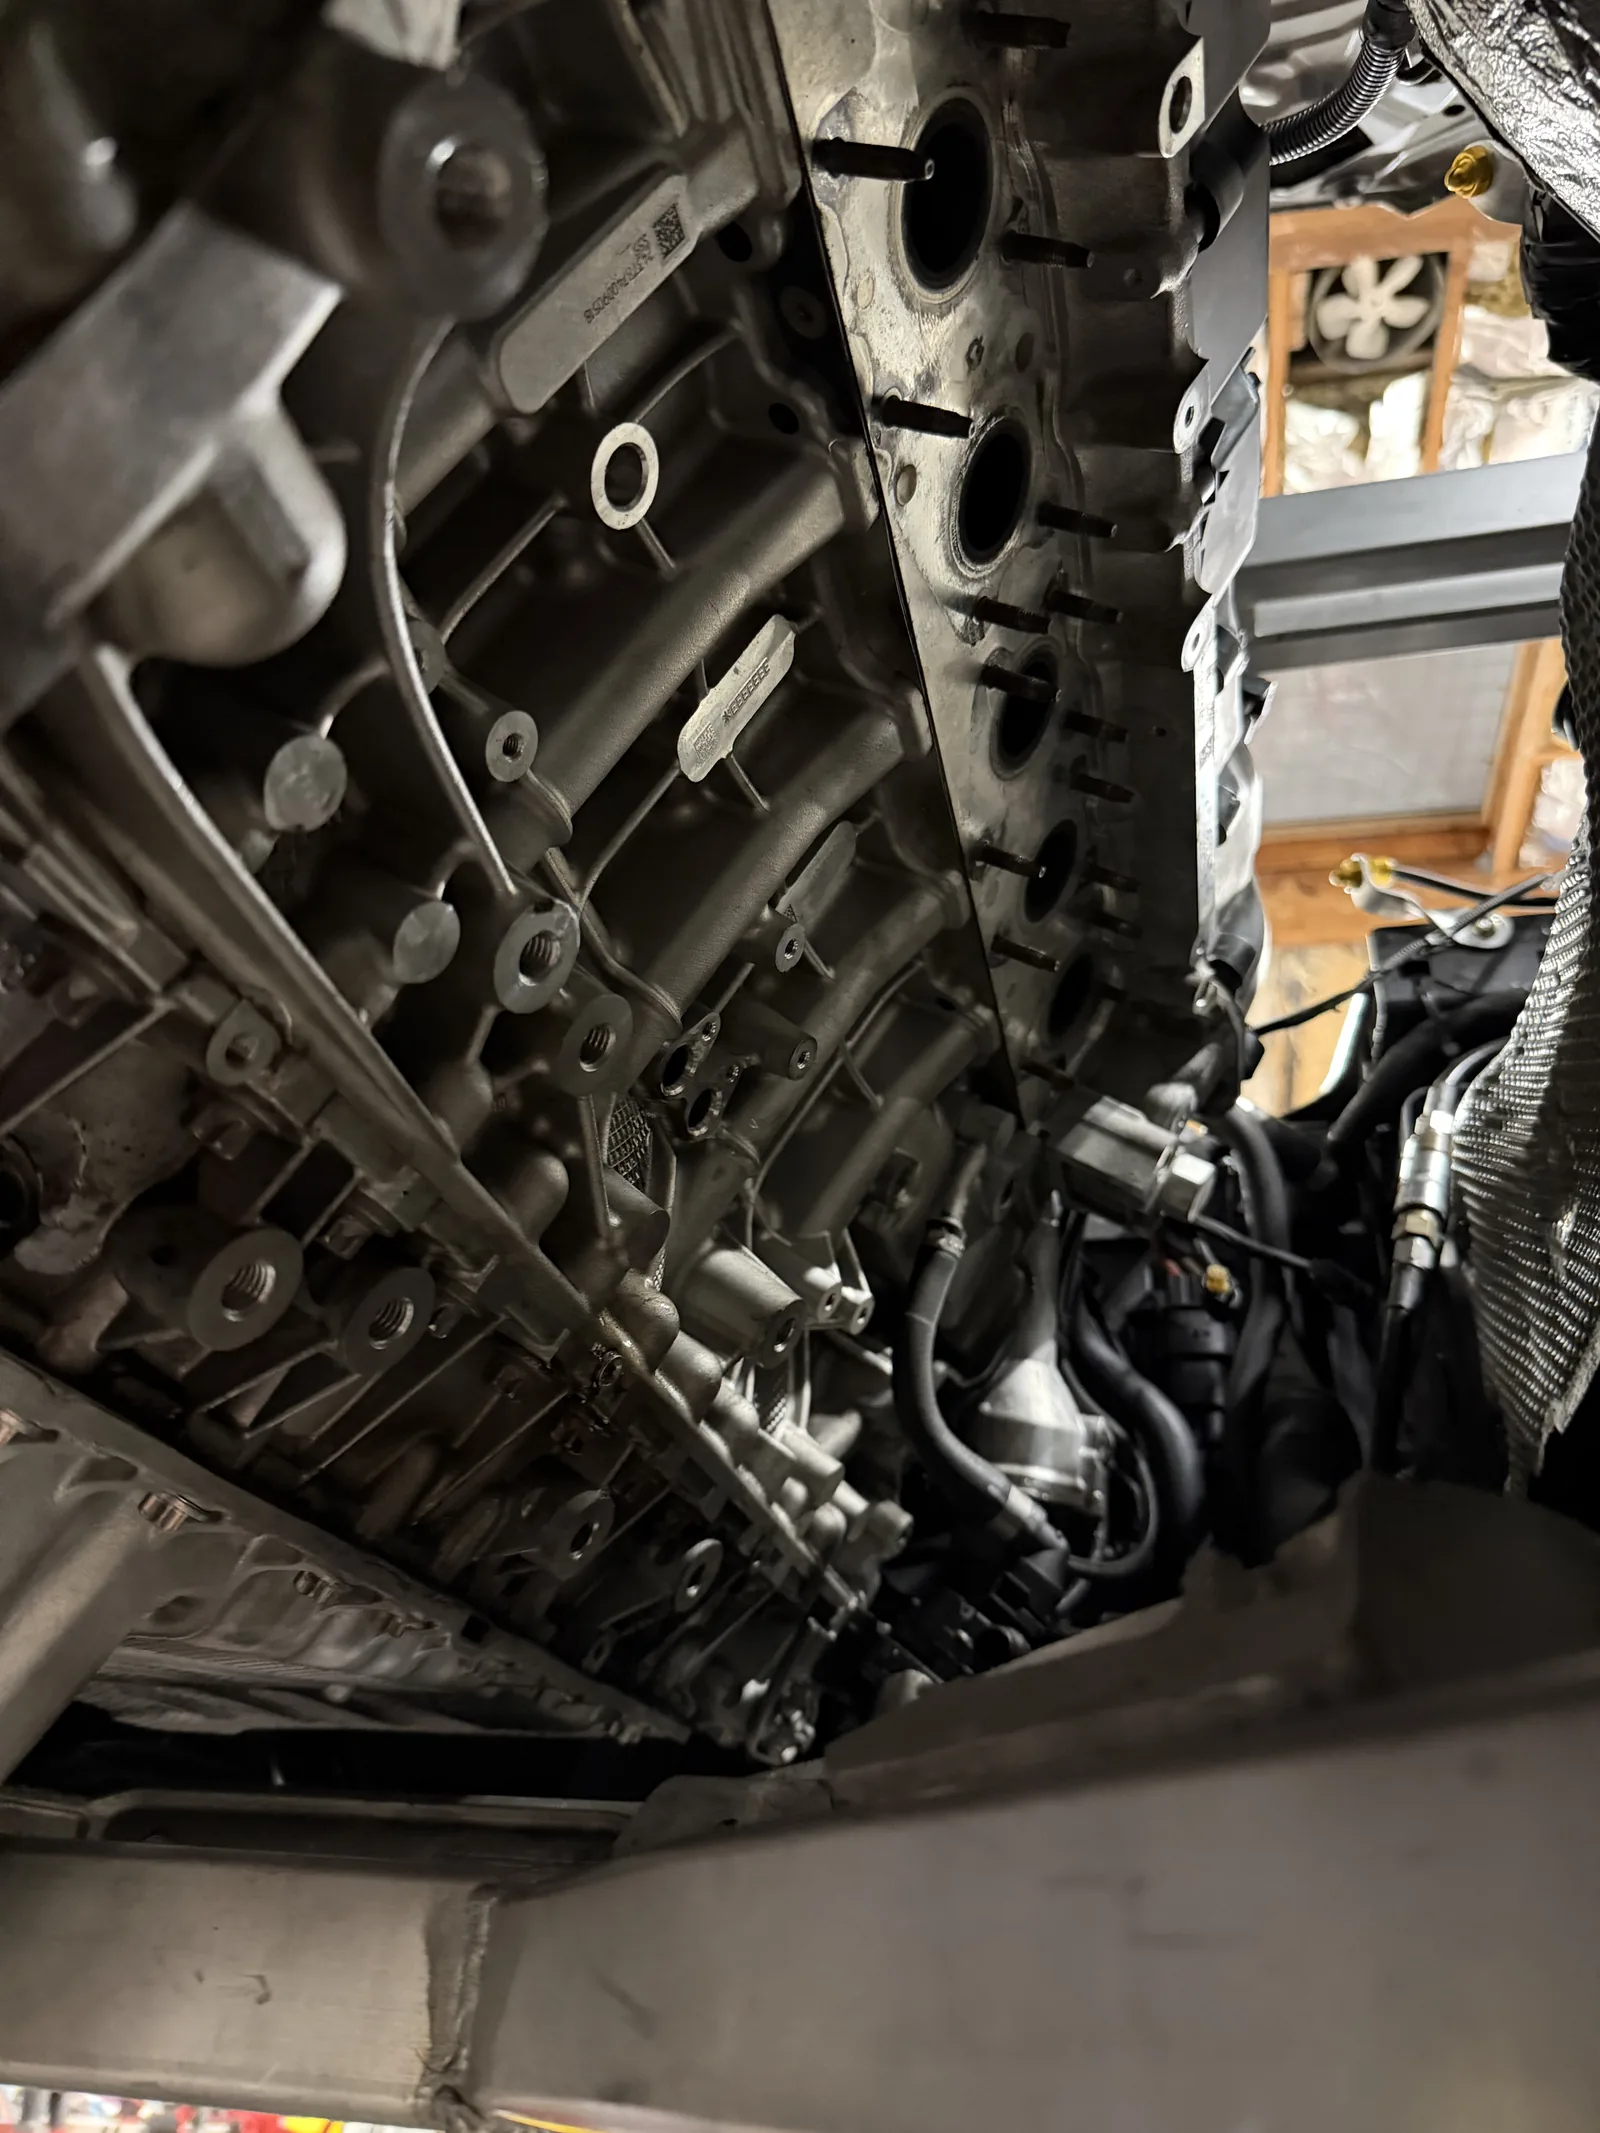
- With the engine mount removed, it becomes a case of progressively disconnecting and removing oil/coolant lines and eventually reaching the point where I unbolt the turbos from the engine.
- Besides a pre-lubricant step that is heavily recommended when installing new oil lines, the rest is following the above steps in reverse.
Transition to Situation
Naturally this wouldn’t be as worthwhile writing about if everything went well. As you will see in the parts list at the top, I included a new set of engine manifold studs as I was told to “inspect” them once I got the turbos off as they can see a lot of thermal variance over their life. They all seemed “fine” to me so I proceeded with just reinstalling the turbos. By the time I got to torque’ing down the final (not an exaggeration, it was the very last one on the 2nd turbo) nut, the following happened:
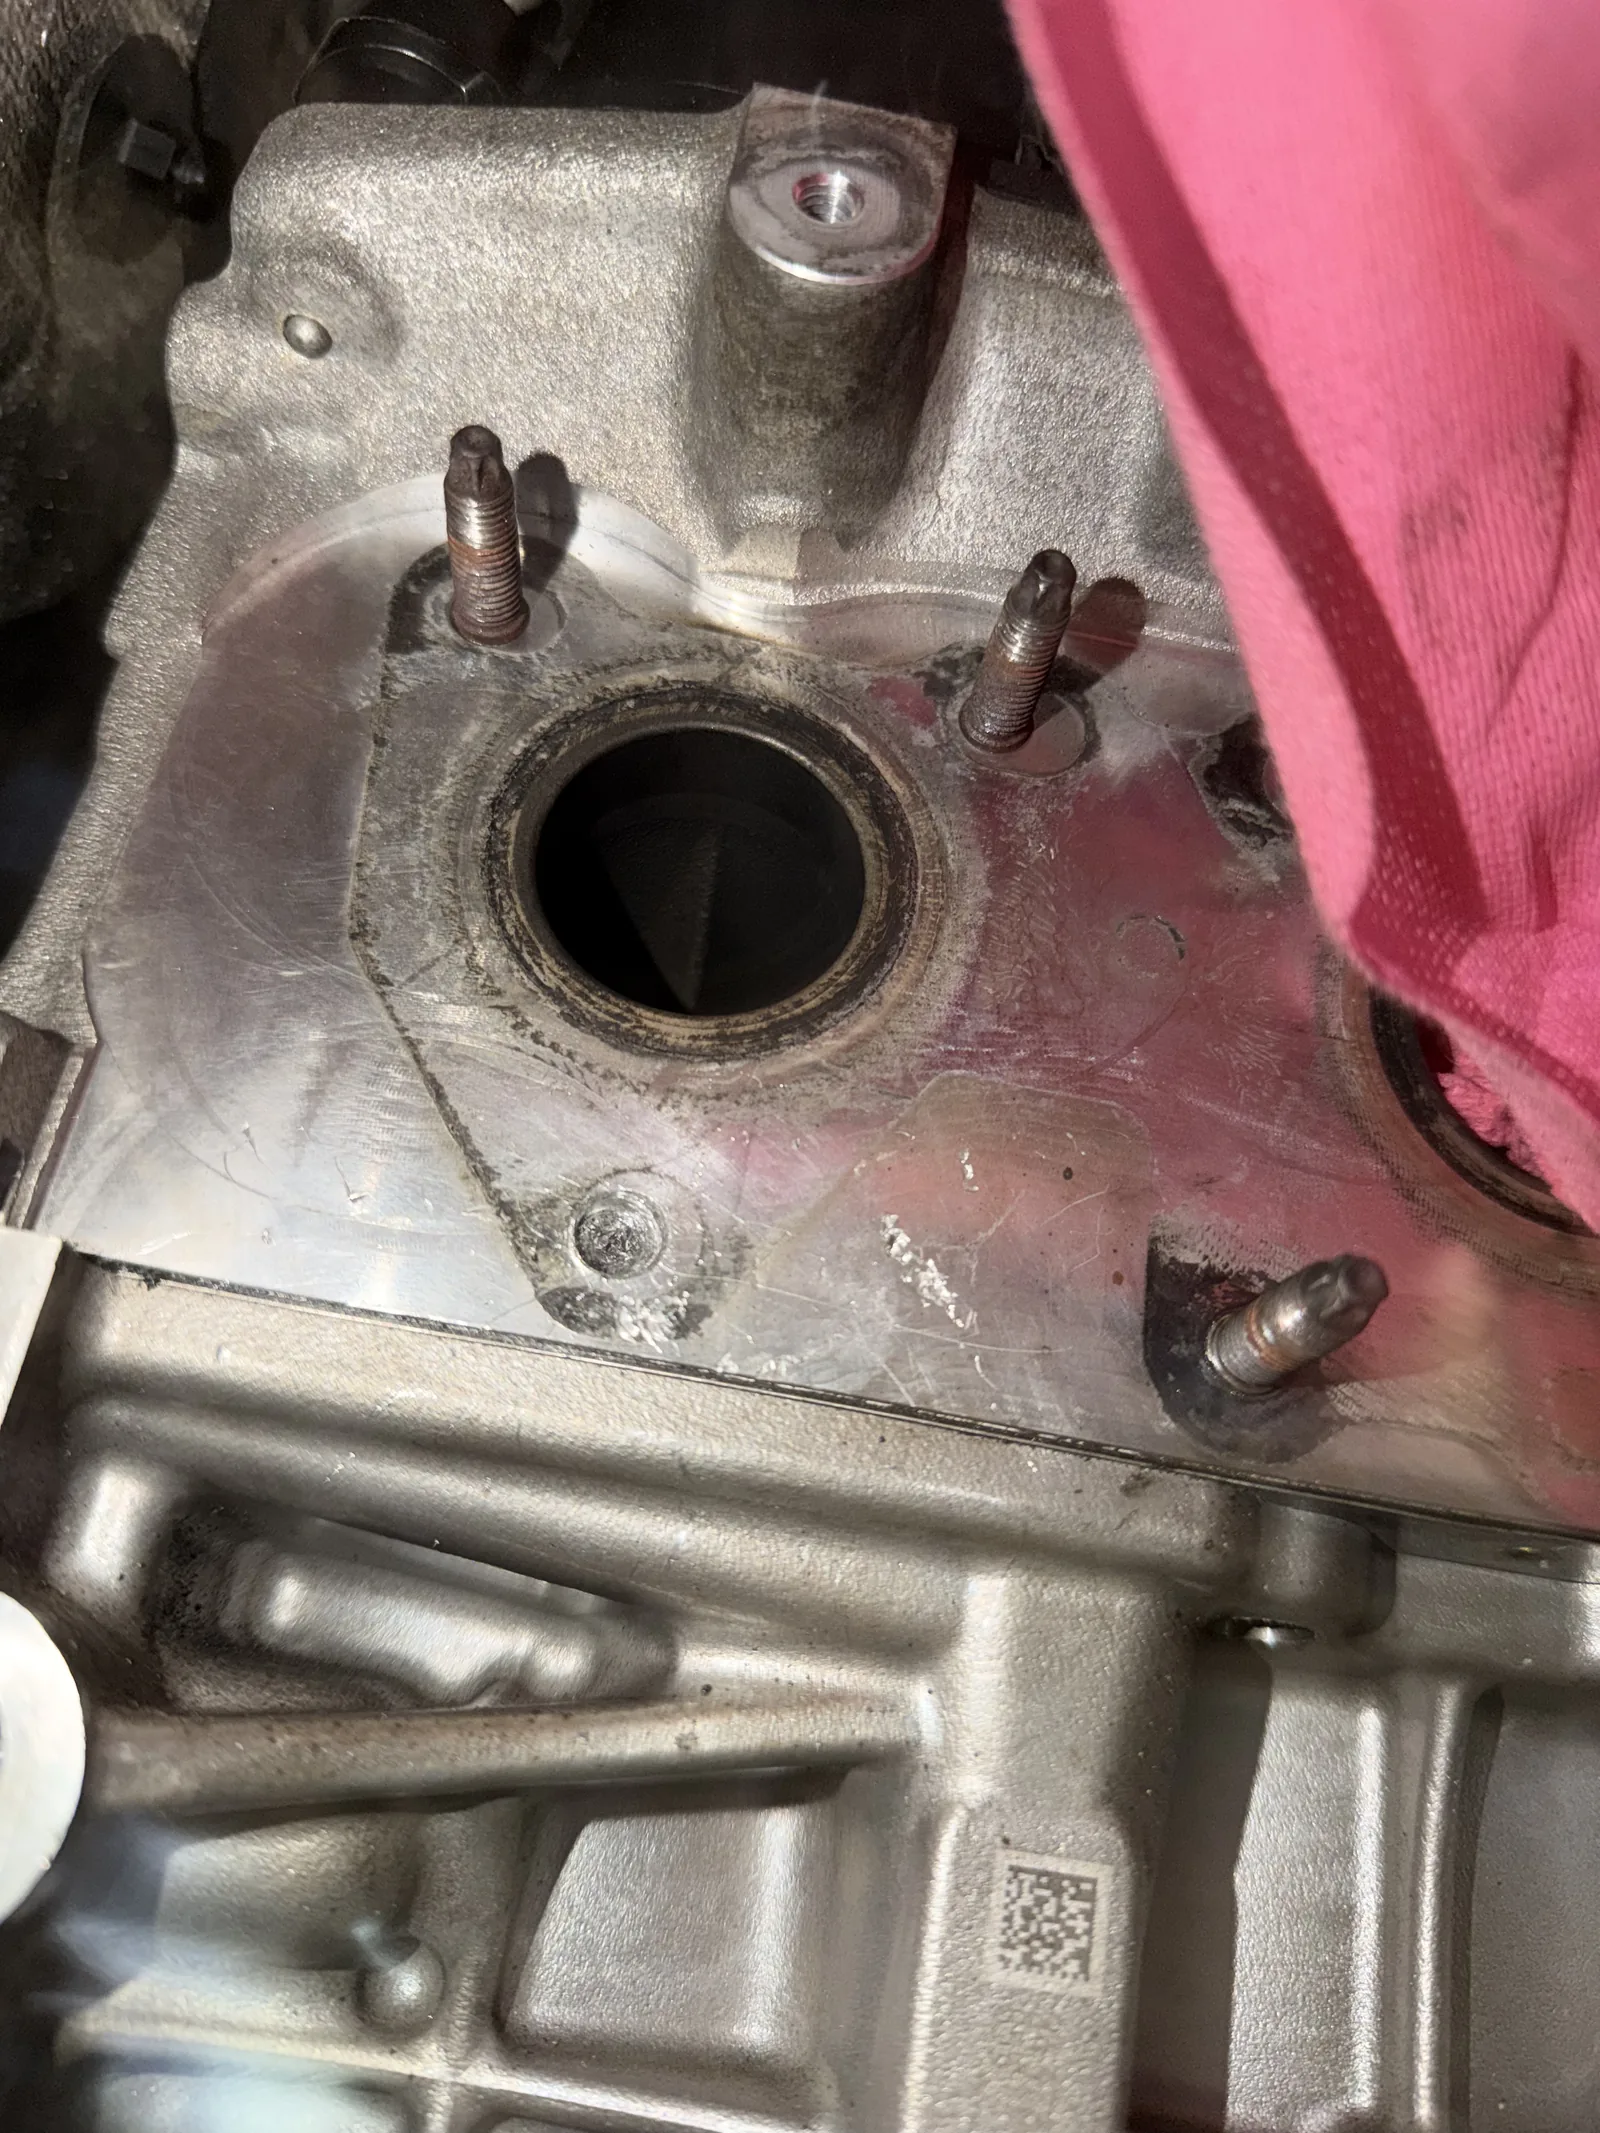
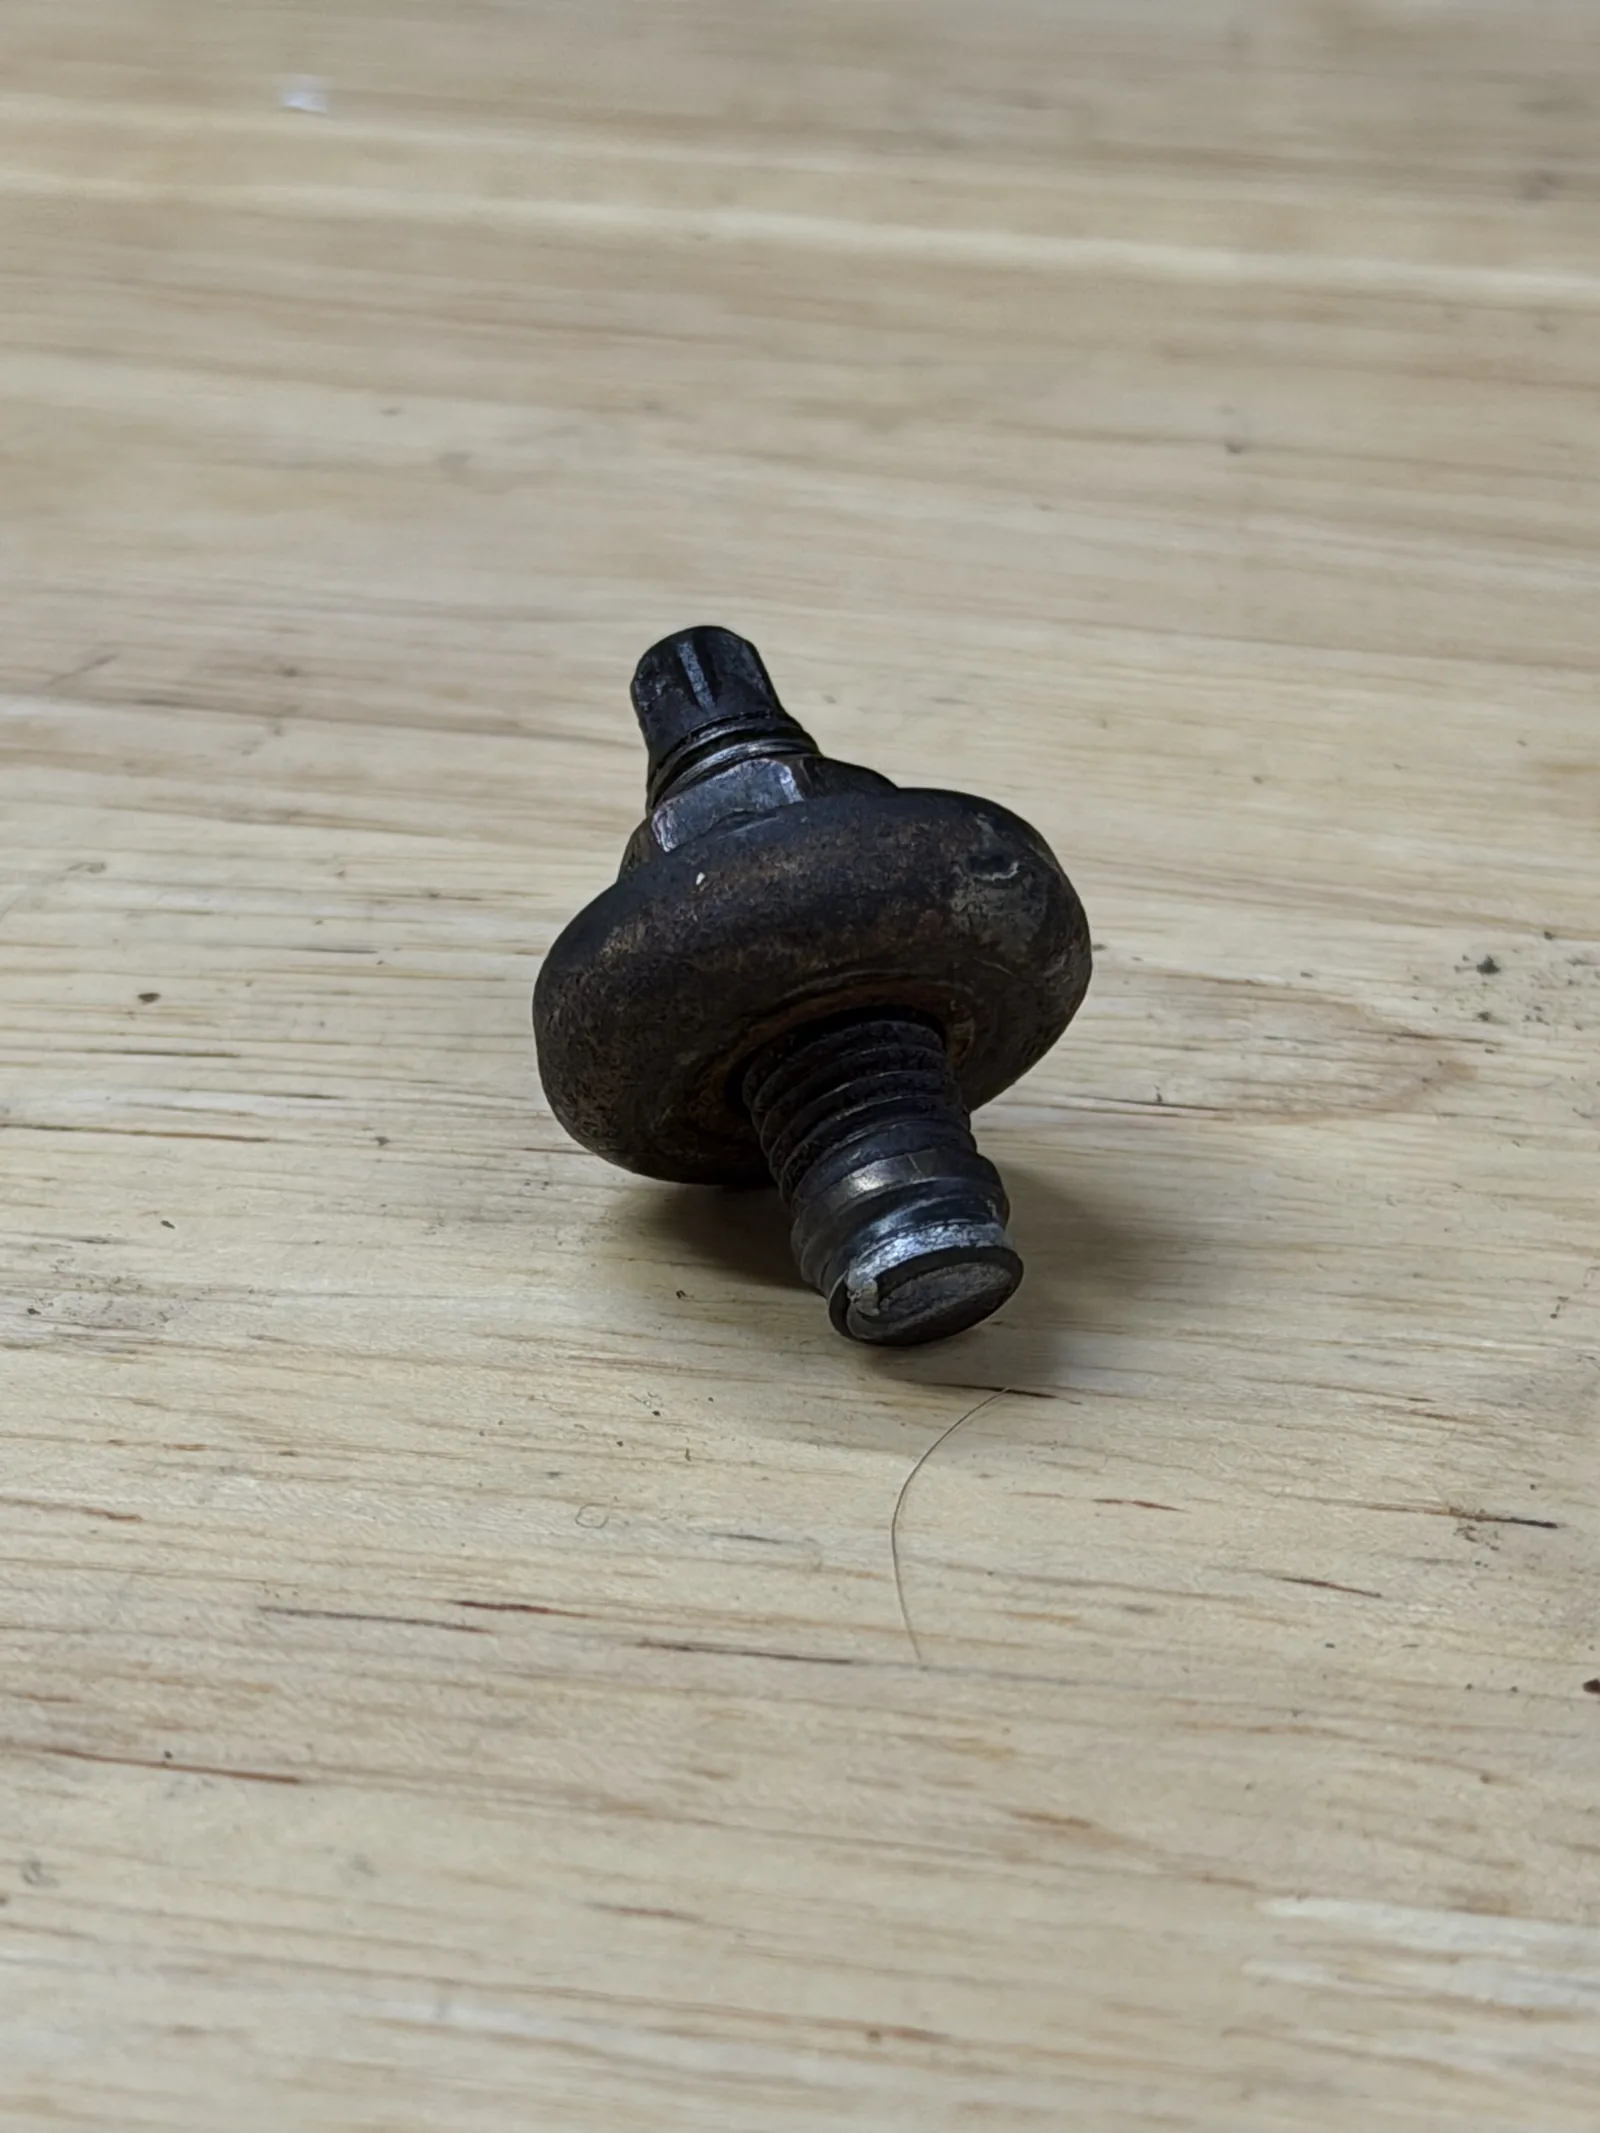
Not only did the stud snap, but it broke off in the typical rude fashion of not providing anything to grip onto. A fellow occupier of the workshop them give me both moral and then physical support as we attempted the following;
- Attempt: Back out the remnants of the stud using an extractor bit.
- Result: The part of the extractor bit that was embedded in the bolt snapped. Mass is now 95% bolt + 5% extractor
- Attempt: Drill a small pilot hole through the bolt, maybe get lucky and it starts spinning but otherwise use that for more extractor bits
- Result: The drill bit snapped after making some progress. Mass is now approximately 90% bolt + 3% extractor + 7% drill bit
- Attempt: Drill a pilot hole with a carbide drill bit
- Result: It snapped. Now 90% bolt + 3% extractor + 3% drill bit + 4% carbide
- Attempt: Drill a pilot hole with a bigger carbide drill bit and eat the risk of hurting the threads
- Result: It snapped. Now 90% bolt + 1% extractor + 9% carbide
- Attempt: Drill a giant hole and do a thread repair
- Result: The hole happened but due to the tight working space, poor leverage and the stud being on an angle it wasn’t straight enough.
At this point it was pretty clear that the universe was hinting that the engine has to come out so it could be repaired properly with machine tools by a professional. Removing the engine is not something that I have ever done and something I have dreaded learning (or worse, needing) to do given how many tiny things/connectors/lines go into an S55.
Fears aside, with the realization that the engine was coming out for major surgery, it did trigger my other TODO item for the year which was to get my engine rebuilt. Given the changeover to being a race car and the >110k miles on it, the best time to rebuild an engine is before it explodes outwards in a way that downgrades your engine from “a viable core” to “scrap metal”. Searching for options led me to CarBahn Performance Engines where the process involves donating your engine in exchange for a complete (or nearly complete) engine being swapped in. This allows for (my) engine to be rebuilt asynchronously and ideally in time for the next customer; ideally this results in an improved timeline for both customers.
So that is how one goes from “one broken bolt” to “new engine” in the space of about an hour.
New Engine
I still needed to get the car over to Carbahn which became the first time that I used the recovery winch in my trailer. Despite the general pain of moving ~1500Kg/3300lbs worth of stubborn car the winch actually worked beautifully. Eventually I got the car over there and into the workshop.
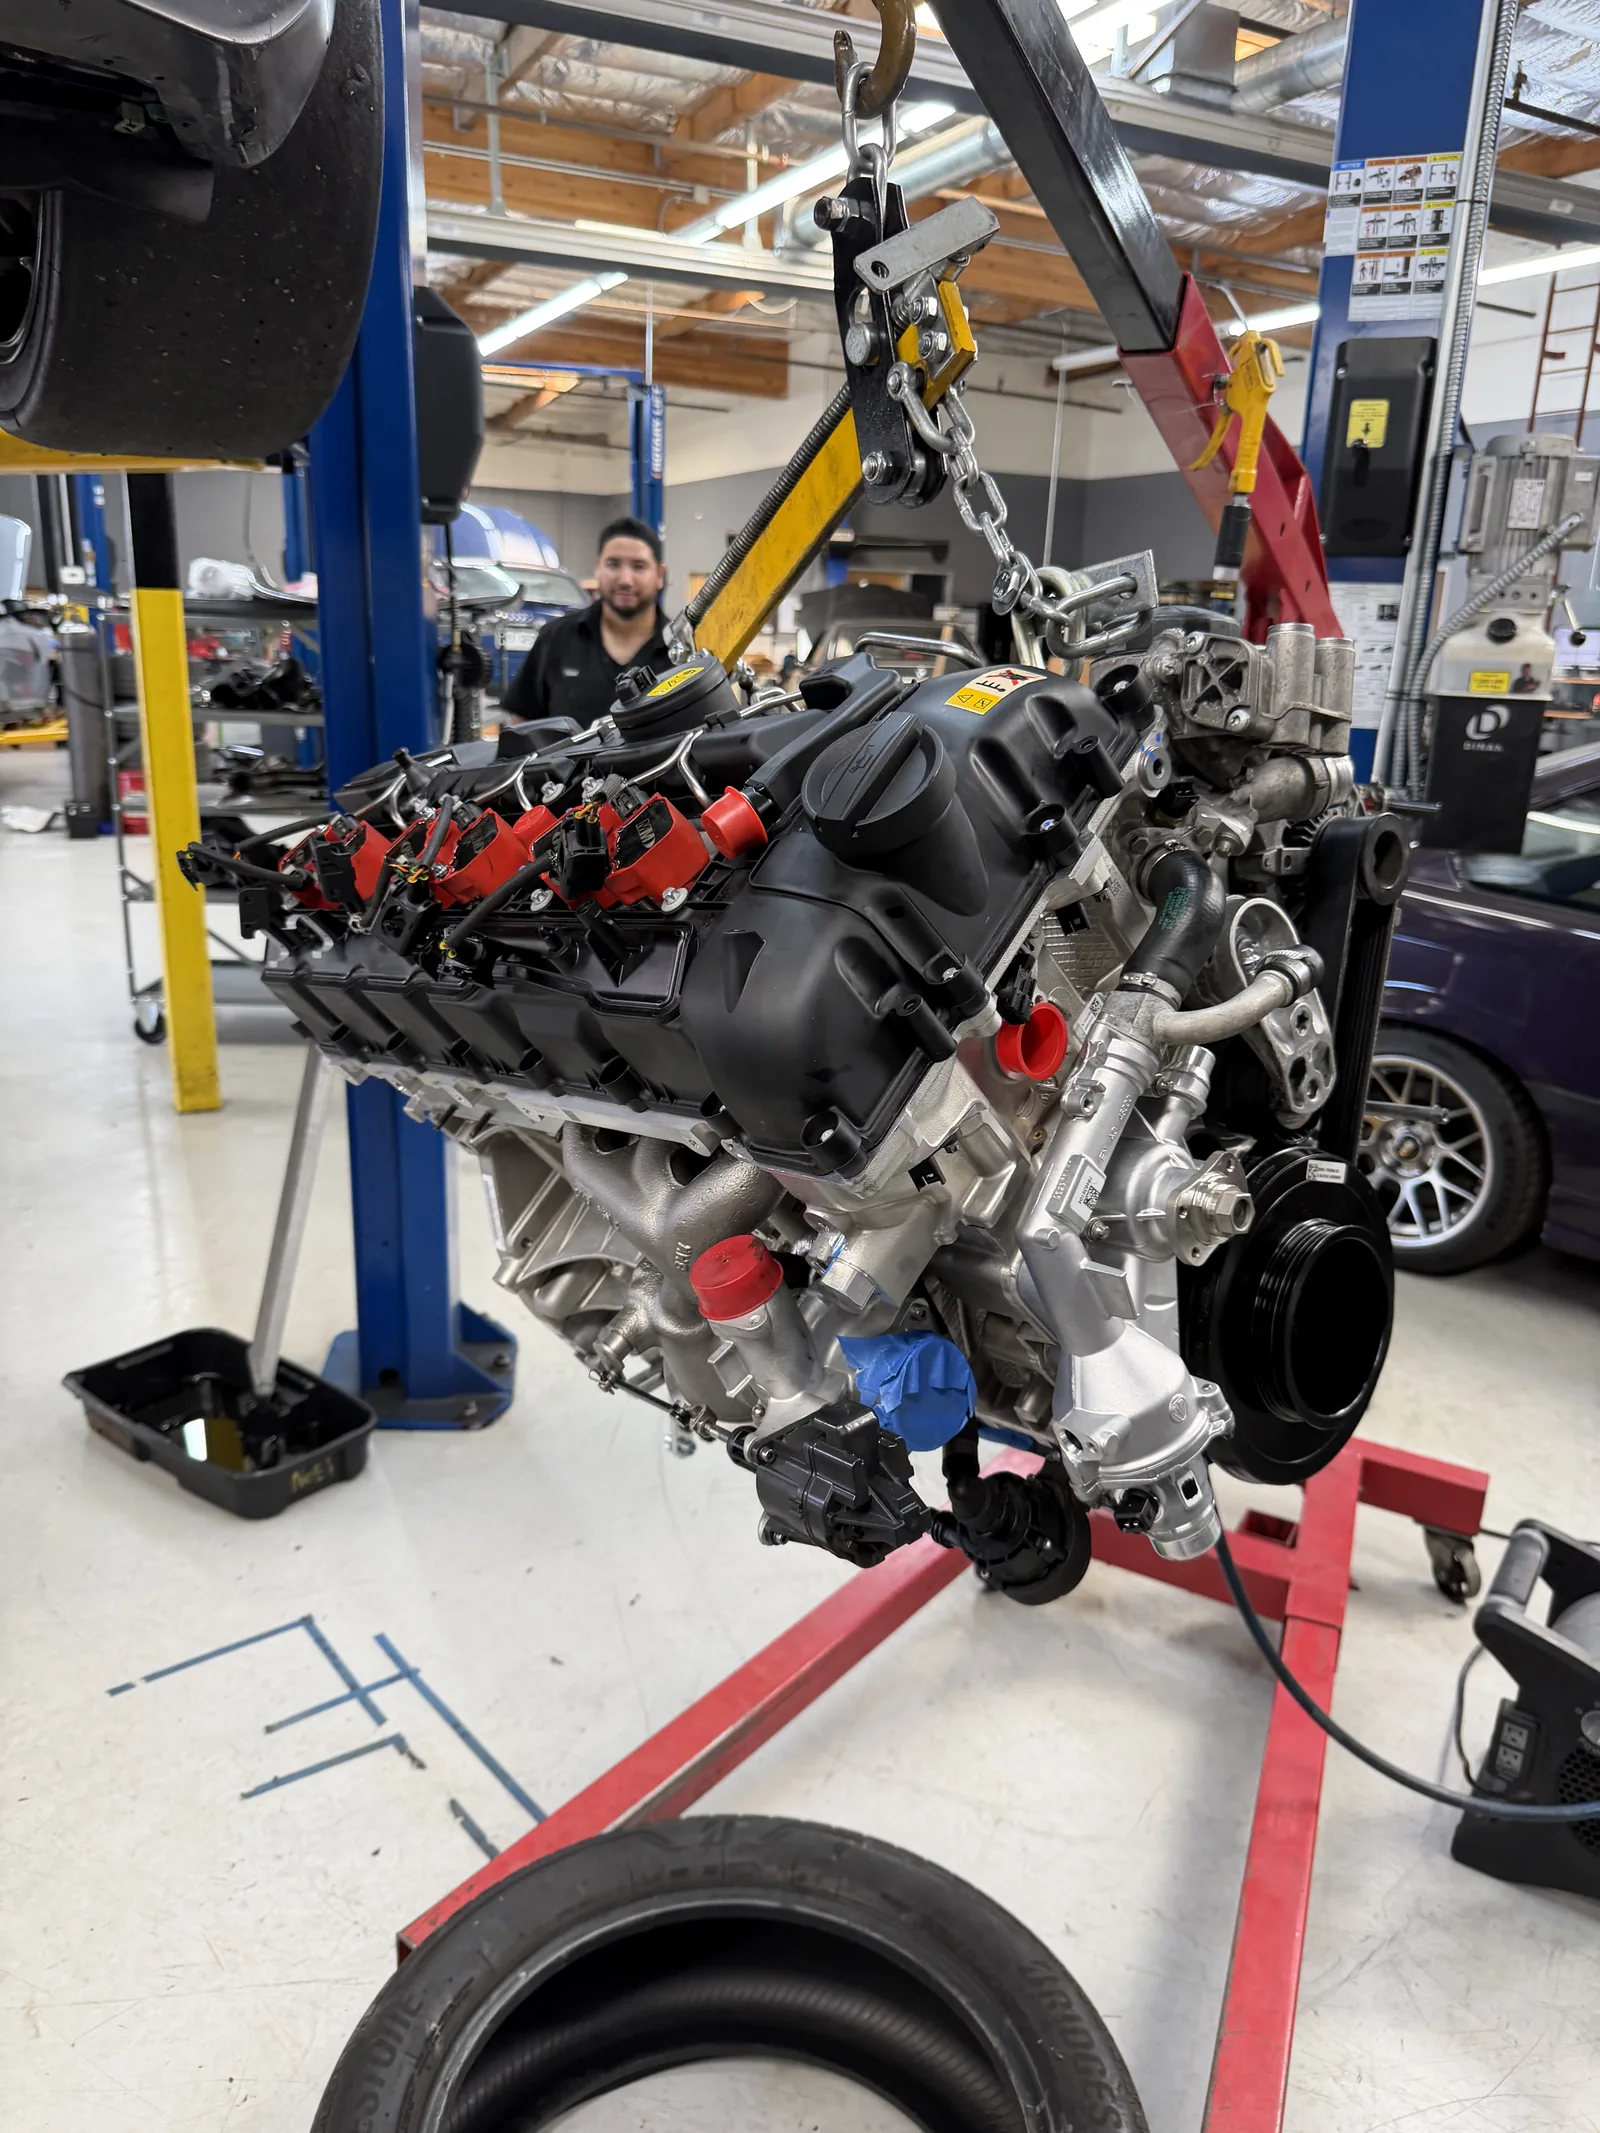
Now here comes what has probably doomed me in a lot of what follows, but I figured that while I was getting a new engine I would also try to make the car feel a bit more responsive (especially with the power uplift from the built engine) by moving to a Lightweight Flywheel. This is also trivial to install when the engine isn’t in the car…
So with that installed in just under 2 weeks, I giddily headed out to the track and was greeted with
Drivetrain Malfunction
And we were only just getting started.